Piett Fleet - TIE One On
 I know he doesn't get a lot of love in Armada, but I enjoy the hell out of him in this fleet.
Let's start with the list itself, shall we? Quick note: If you're familiar with the most excellent Armada Fleets Designer app, then you'll be familiar with the format of the fleet list. If not, then you should know that the numbers in the parentheses next to the fleet name are as follows - number of points invested in squadrons/total number of fleet points/maximum number of fleet points.
TIE One On (107/396/400)
=======================
Command Prototype (220 + 69: 289)
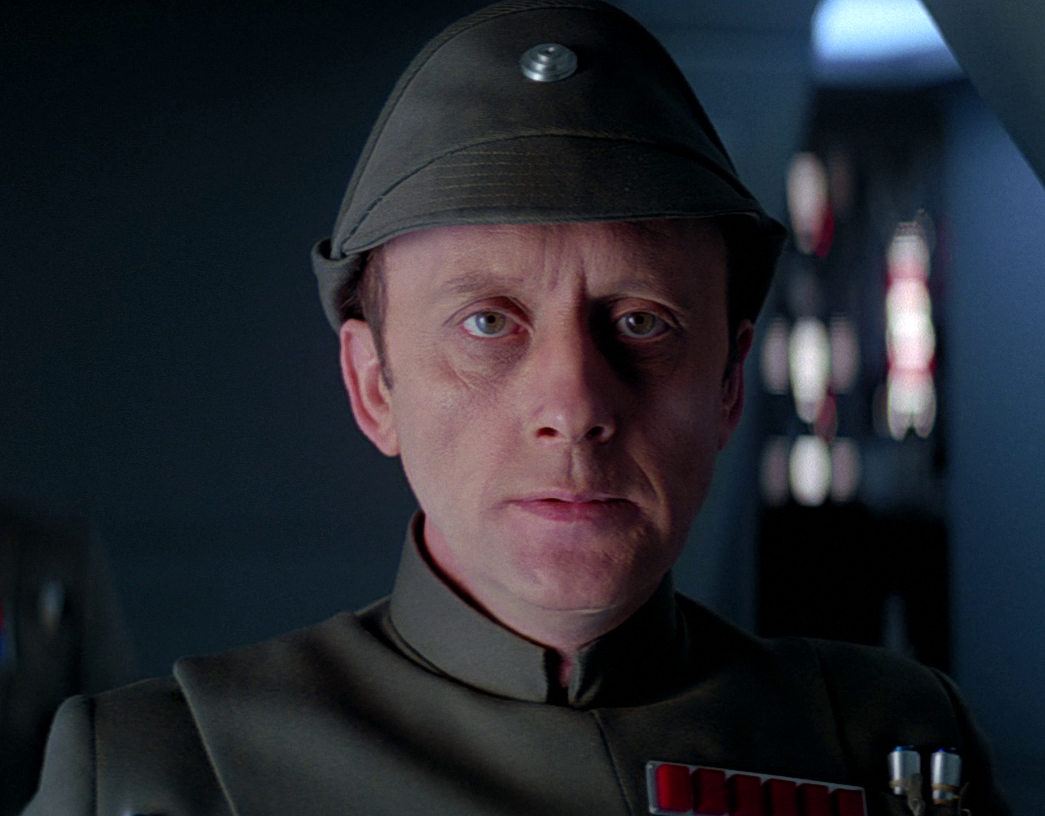
· Admiral Piett (22)
· Damage Control Officer (5)
· Commander Vanto (7)
· Flight Commander (3)
· Gunnery Team (7)
· Take Evasive Action! (6)
· Rapid Launch Bays (6)
· Leading Shots (6)
· Quad Battery Turrets (5)
· Executor (2)
Howlrunner (16)
Valen Rudor (13)
Gamma Squadron (10)
4 x Tie Bomber Squadron (4 x 9)
4 x Tie Fighter Squadron (4 x 8)
Ion Storm
Contested Outpost
Doomed Station
It's been a long while since I've gotten to fly this fleet. I certainly haven't flown it before 1.5 rules dropped because I used to be at exactly 400 points with the inclusion of Intensify Firepower! But with Leading Shots increasing to 6 points, that put my fleet point total at 402. So in 1.5, I dropped IF! because it felt like the least useful upgrade I had attached to the SSD. Also, with the advent of 1.5, the usefulness of Gunnery Team changes, and I no longer have a single pass token I use each turn. Not sure how all of that plays out in 1.5, but I'm looking forward to finding out!
Basically, the notion behind this fleet is to keep the TIE Bombers back until they're ready to go to work under the command of the SSD. My TIE Fighters are actually the squadrons I plan on dropping with Rapid Launch Bays (RLB). Kinda turns expectations on their head, right?

But actually, it has worked far better this way! I figure I don't much care about losing the deployments with RLB this way because I have to deploy the SSD before anything else anyway. So it's not like I'm giving away too much information by losing the 2 deployments I lose with RLB. But if I keep my TIE Bombers in reserve, I'm really at the mercy of someone either flying up alongside my SSD, or my closing in on them as they obediently stay put. I don't love the idea of being forced to do either in order to bring all my guns to bear. Plus, it also means my TIE Bomber deployment is totally predictable. But it's a different ballgame if 5 of my TIE Fighters (the 2 aces and 3 of the generics, leaving one guy to fly free) are kept in reserve instead. My Bombers can go wherever they want at speed 4. If I'm facing a squadronless list, they're free to do whatever they like. If I'm facing squadrons, I hold my Bombers in reserve because they've got plenty of space to hide in the shadow of my SSD. Then my opponent has a choice: keep their squadrons out of the fight and count on their ships being able to take down my SSD without squadron support, or send their squadrons in to attack my SSD. If they do the former, I'm willing to just keep shooting at them until I can throw my TIE Bombers at them, even if it's only for one strafing run to augment whatever my SSD throws at them. If it's the latter, I'll happily absorb that alpha strike so I can drop my TIE Fighters on their face.
Flight Commander ensures that even if my opponent throws all of their squadrons at my face, after I run them all over and scatter them, I can drop my TIE Fighters after I move, thus getting in solid attacks AND remaining in position for the following round. Howlrunner is adding a blue die to each TIE Fighter within range of her buff, and Swarm is giving my TIEs rerolls. And I can absolutely use my double-blue flak if it will help clear a path.

Damage Control Officer is stapled to the SSD because crit effects are devastating, and the SSD has two Contain tokens anyway. Commander Vanto combined with Executor means I can hold any number of tokens of any type (even duplicates), which will fuel Piett's commander ability as well as Gunnery Team and Take Evasive Action! Admittedly, I can only command a maximum of 6 squadrons out of my 11 squadrons each turn. However, I expect that my TIE Fighters will only last so long anyway, and so I don't necessarily mind. More often than not, I'll be commanding 5 squadrons each turn so I can save my tokens for Piett as needed. As I am rarely engaged in the first two turns anyway, the first two turns will net me a total of 6 tokens (each command dial also gives me a matching command token because the SSD is a huge ship - I reveal the dial, get the matching token, then bank the dial to get an additional token, then as soon as I resolve a command, Vanto triggers to give me a third token). That's enough to be getting on with for Piett and other abilities, and so then it just becomes a question of what I want for the remaining 4 dials. I'm almost inevitably starting with a Navigate command and a Concentrate Fire command. Always nice to have Repair, too, though, to move those shields around. It usually ends up being a spur of the moment decision based on what I'm facing down, as I've only used this fleet a handful of times.
Take Evasive Action! can help save me as long as I remember to use it! I'm often a turn too late on turning, so I need to get better with that. Leading Shots, Gunnery Team, and Quad Battery Turrets are all obviously part of making sure I'm not expecting my TIE Bombers to do all the work of killing my enemy.

Why did I decide on this squadron contingent? Honestly? The most compelling reason for me is that I never see swarms of TIEs anymore. It's been a real long time since I've seen it, but I love that image of just dropping a ton of squadrons. But aces are generally just so good that the question is always: why not just have better aces with defense tokens instead of dropping a lot of generics to be fodder? Howlrunner helps buff all of those cheap TIE Fighters, while Valen Rudor takes advantage of hiding in the horde so he can just do his best to crush his competition. I had the extra point, and so threw Gamma Squadron in there because it has Grit. Why not? I wasn't using that point for anything else at the time.
My objectives are pretty straight-forward: my SSD is so huge that I'll never be beyond distance 2 of an obstacle as long as I don't play stupidly by throwing obstacles on the other side of the board. Hopefully, I can take advantage of an enemy's carelessness from time to time, score 15 points, and zap a command token off of them (which is much more relevant in the wake of 1.5 and Clone Wars!). Contested Outpost means I dictate where the battle happens, which the SSD is always happy to do. Doomed Station is the same idea, but this is a question mark for me simply because I've not played Doomed Station but once. I need a better handle on the objective before I decide whether or not it's really the right choice for this fleet.
All of that said, though, I really enjoy this fleet and would love to get it to the table more frequently. Piett allows me to consistently execute two dial-level commands each turn. As I only have one ship and Piett is way cheaper than Thrawn, he ends up being a no-brainer choice for me. Plus, Piett (especially in this build) is far more flexible than Thrawn is. Can't wait to get this back to the table, but in the meantime, consider giving it a whirl. It might surprise you!
Comments
Post a Comment